 Business License

Steps for Adjusting and Aligning Straightening Rolls
Many operators rush the setup, crank adjustment screws too far, or skip alignment checks, then wonder why the material twists, marks, or still comes out curved. Getting the geometry right does not need to be guesswork. With a repeatable routine and simple measuring tools, you can keep your line running smoothly and hit your straightness target.
Pre-Adjustment Checks Before You Touch The Roll Settings
Before changing any position, lock out the machine and do a quick visual and physical inspection. Safety comes first, and worn parts will make even perfect adjustment useless. Look for scoring, flat spots or bearing play on every roll. Check mounting bolts, guide plates, and the base frame for loose fasteners. If one roll has excessive runout, alignment work will not fix the problem.
Gather your tools: precision straightedge, feeler gauges, dial indicator, marker, and a sample of the material you will process. It helps to write down your starting positions so you can return to them if the test run fails. This log becomes useful when you switch material grades or thickness later.
Step-by-Step Alignment And Adjustment Workflow
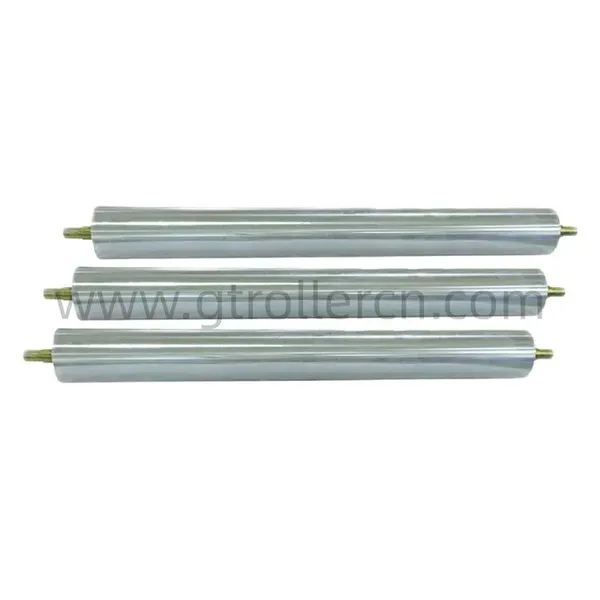
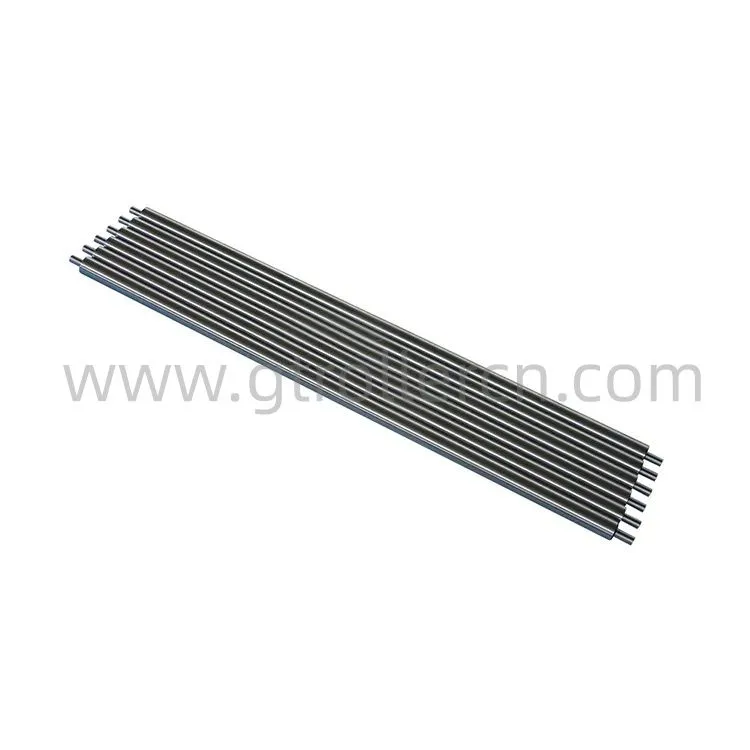
The core goal is simple: make sure Rolls run parallel to one another and square to the material feed direction. Straightening Rolls rely on controlled alternating bending, and misalignment creates uneven contact across the width of the workpiece.
Start by setting a zero reference. Back all adjustable rolls away until your test piece slides freely through the gap with no contact. Lay the straightedge across the roll faces and use the dial indicator to check parallelism. Adjust the end screws little by little, not one full turn at a time. Large jumps often overcorrect and create a new tilt. Once parallelism reads within your tolerance, you can begin gap setting.
For most sheet and strip straighteners, the entry gap is slightly tighter than the exit gap. The exit gap sits near nominal material thickness, while the entry side introduces the first plastic bend to remove coil set. Run a short test piece through at low line speed, then inspect it for camber, edge wave or center buckle. If the material curves consistently to one side, one end of the roll is applying more force. Back off the high side and retest. If surface marks appear, reduce overall roll pressure.
Common Troubleshooting And FAQ
1: Why does my material twist after passing through the straightener?
Twist almost always points to skewed rolls or uneven side-to-side pressure. Confirm that the roll bank is perpendicular to feed direction, and check that both ends of each roll have the same gap setting. Worn roll profiles can also create uneven grip and spin the workpiece.
2: How often should I recheck alignment?
Plan a formal alignment check after heavy production runs, roll changes, or if the machine receives an impact. For continuous lines, many teams add a quick verification at the start of each shift. Even small frame movement from vibration shifts settings over time.
3: Can I use the same roll settings for aluminum and carbon steel?
No. Aluminum and carbon steel have different yield strengths. A setting that flattens low-carbon steel may over-stretch soft aluminum and create edge tears. Start with lighter pressure for lower-yield materials and build up slowly.
4: What is the difference between gap adjustment and alignment?
Gap adjustment controls how much bending force the rolls apply. Alignment controls whether the rolls sit parallel and square. You can have a correct gap while the rolls are tilted, which causes uneven loading and defective output. Both steps are needed.
Final Testing And Ongoing Maintenance
Once your first test sample meets specs, run a longer piece and watch for drift. Some machines creep as bearings warm up or hydraulic pressure stabilizes. Keep your log of material type, thickness, gap readings, and final straightness. Over time this record cuts setup time for repeat orders.
Lubricate roll bearings on schedule and keep roll surfaces clean. Built-up scale or debris creates high spots that leave marks and throw off your carefully set geometry. A short daily inspection takes far less time than sorting scrap or reworking bent parts.
Recently Posted
-
Can Straightening Roll Profiles And Sizes Be Made To Order?
November 18, 2026Off-the-shelf options work for common sizes, but they often leave marks, struggle with special profiles, or cannot hit your target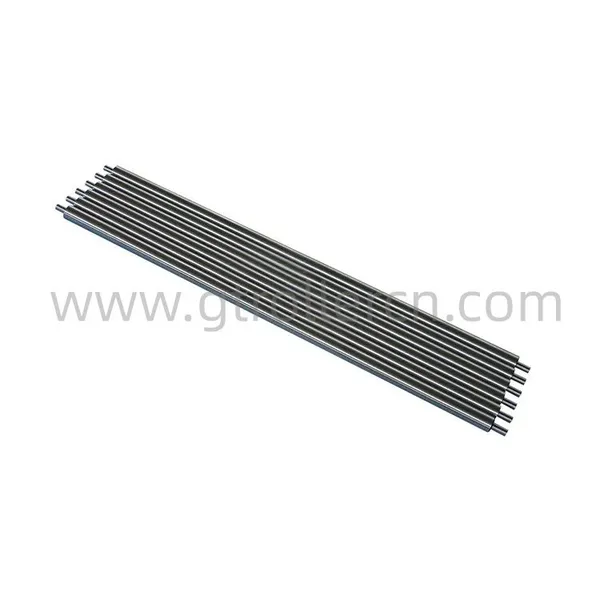 Read More
-
How Many Operating Hours Pass Before A Leveler Roll Cassette Needs Servicing?
November 18, 2026Many plant operators wait until flatness errors or strange noises appear before touching their leveling equipment. This reactive a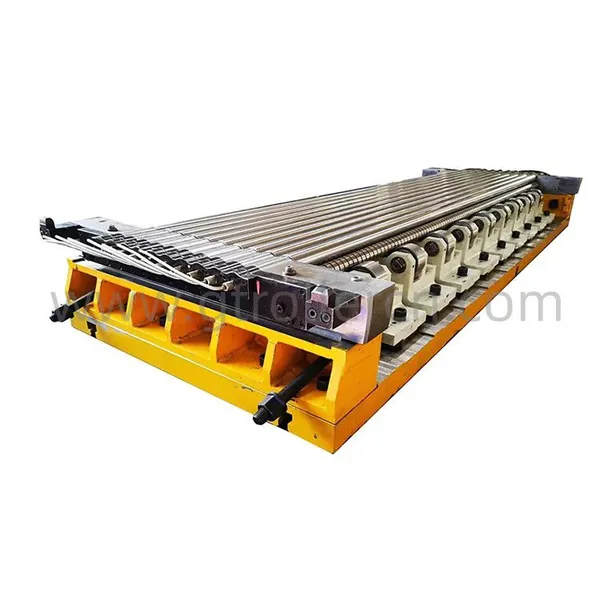 Read More
-
The Functions of Scale Breaking Work Roll
November 12, 2026If you work with steel pickling lines or tension leveling equipment, you have probably noticed how stubborn oxide scale can be. Th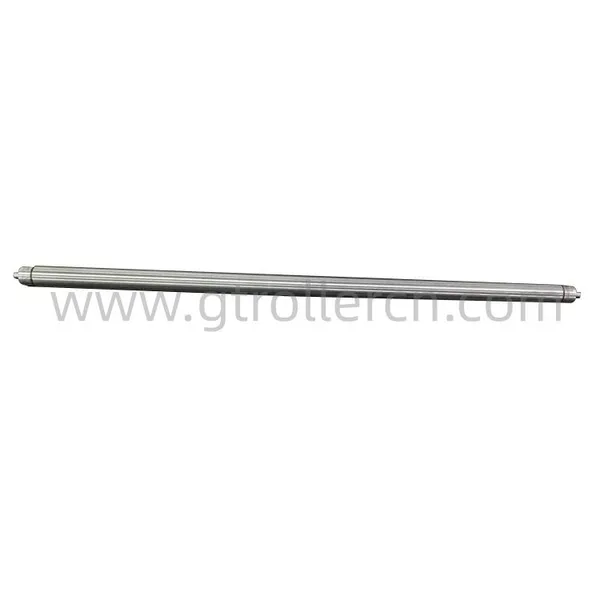 Read More
-
What Level Of Accuracy Can A Refurbished Roll Cassette Achieve?
November 4, 2026If you run a forming, drawing or leveling line, you know how much a worn Roll Cassette can hurt your output. Parts shift, toleranc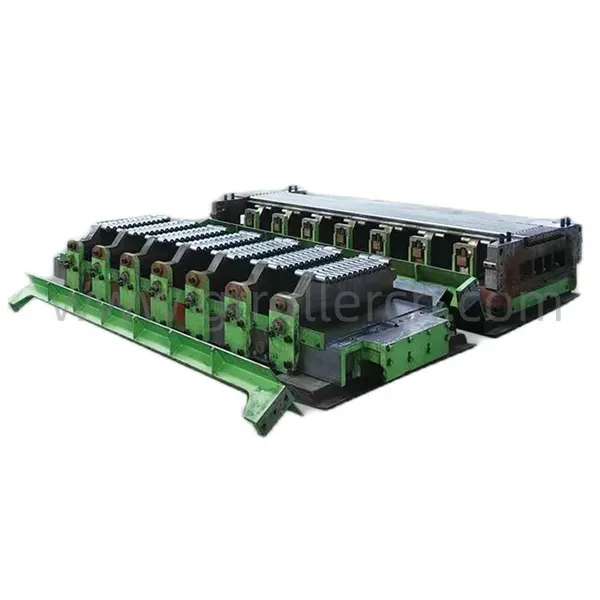 Read More